How to Make Your Own Minimal Card Wallet

Simple styling meets modern design in this minimal card wallet project that's perfect for makers of all skill levels. With an easy-to-work-with pattern and unlimited decorative options, this handmade leather minimal card wallet is the perfect project for expressing your unique style.
Whether you keep this finished leather project all to yourself or give it to a special someone as a heartfelt gift, this wallet is one of our favorite beginner projects. Visit our project page to download our free card wallet pattern, peruse the supplies you'll need, and get ready to flex your leathercrafting prowess!
Let's follow along with Weaver Leather Supply's leatherworking expert Chuck Dorsett as he walks us through the process of making a minimal leather card wallet.
Part 1: Selecting the Leather and Decorations
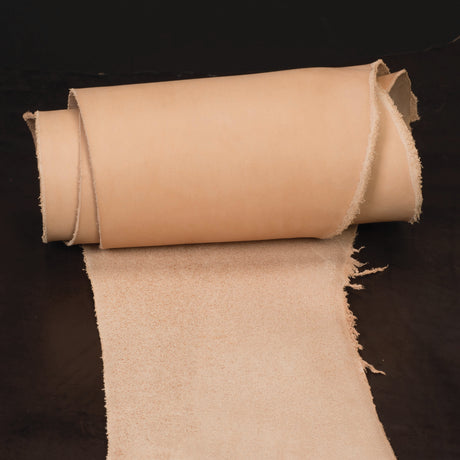
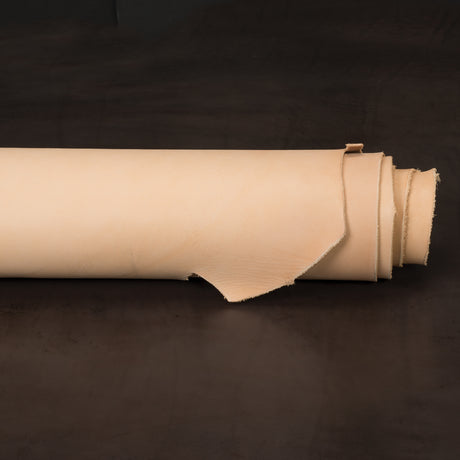
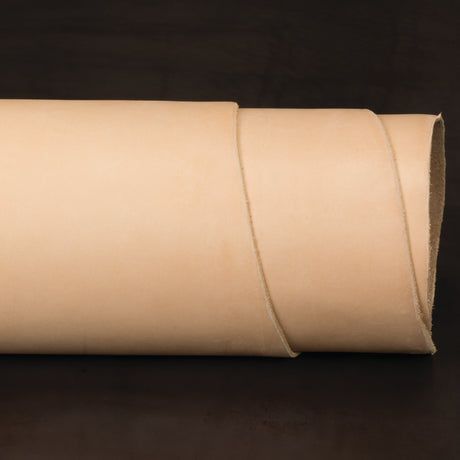
It All Starts with Beautiful Leather

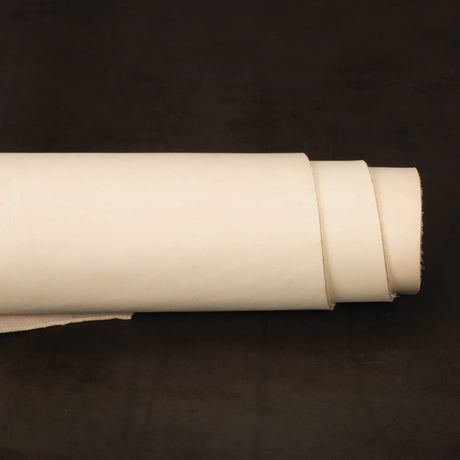
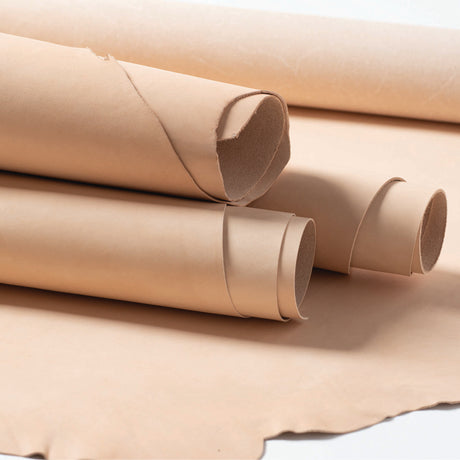
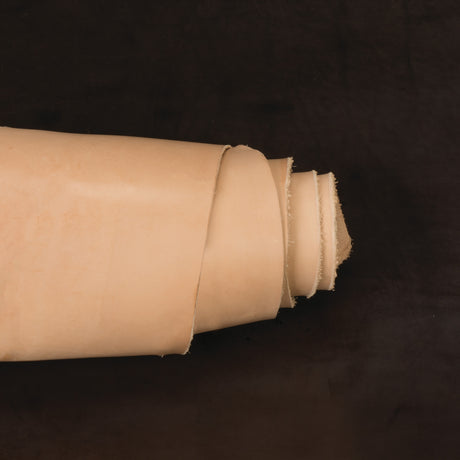
Our team recommends our Weaver Select Veg Tanned Natural Strap Leather in 4-5 oz. for this project. For the main body or “face leather,” Chuck recommends 4-1/2" wide x 5-3/4" long. For the pocket of the wallet, the size will then be 1-3/4" by 4-1/4". Since the standard business card is 3-1/2" wide, the wallet will be cut a bit wider than that to allow for stretching.

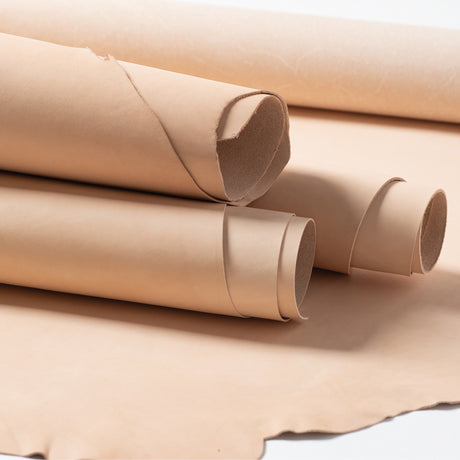
If leather stamping or leather tooling is desired, you can't go wrong with Weaver Select or Hermann Oak®. These beautiful veg tanned leathers excel at accepting your tooling and stamping for details that seem to leap off the leather!
For a more simple style without stamping or tooling accents, you'll find plenty of budget-friendly leathers that will work including Belly Leather or Single Shoulders.
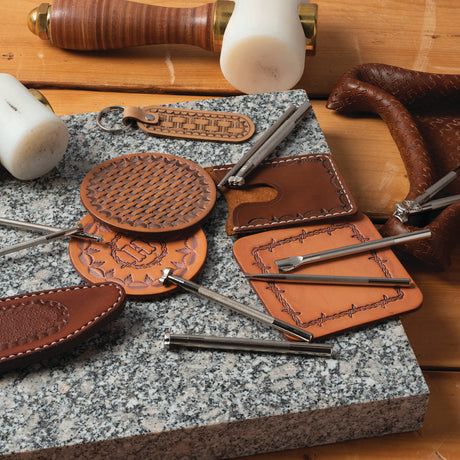
Make it Your Own with Decorative Accents
Sky's the limit when it comes to adorning your minimal card wallet. Here's just a sampling of some decorative touches you may want to add, but feel free to try out some of your own favorites.

- Descending spots design
- Simple
- Exceptionally clean & elegant
- Works on rustic pioneer chrome or veg tan
- Great formal or casual option
- Drop in basketweave across the face
- Basketweave with spots
- Two-tone dye with brown stitch
- Letter set with a drop-in filigree cut and a reptile-printed leather behind
- Foil stamp: drop-in initials
Part 2: Crafting the Wallet
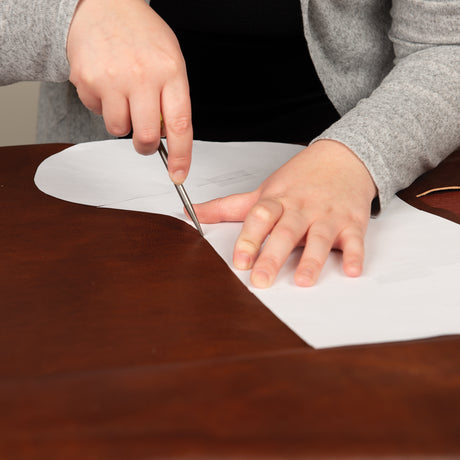
First, mark out the body. Then, for the pockets of the wallet, cut two bands, 2" wide x 5" long.
Now, we are ready to move on to beveling, grooving, and slicking throats.
Beveling, Grooving & Slicking
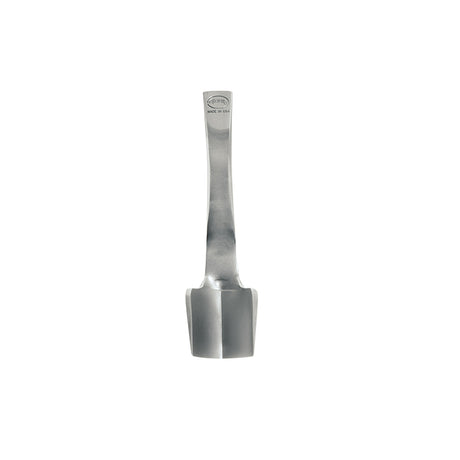
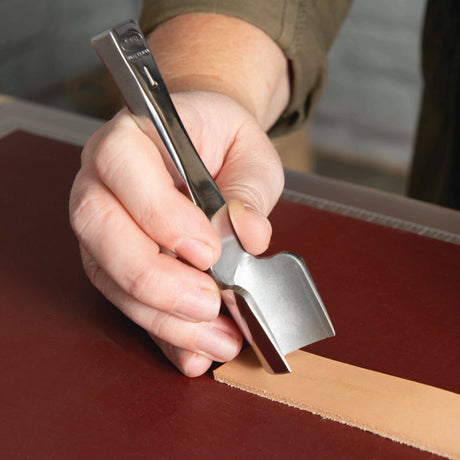
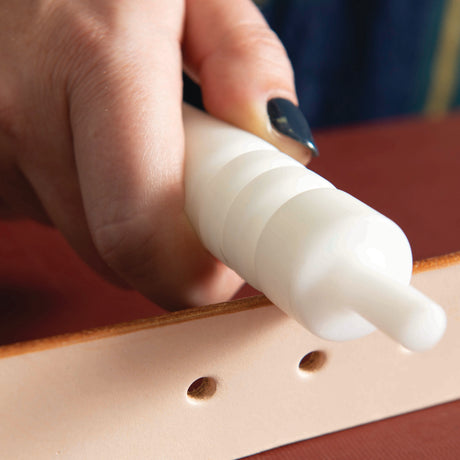
Begin by beveling, grooving, and slicking one side of both pockets. Use the size 0 (1/32") Master Tool Edge Beveler to bevel the front and back edge of the pockets.


Now, slick the edges using a dampened Dressing Sponge and follow these steps:
- Hold the leather so that water will not drip across the face.
- Run the Plastic Leather Slicker or Exotic Wood Leather Slicker back and forth a dozen times along the edge of the pocket.
- Use a straight edge to put a mark on each pocket at the center of the edge.
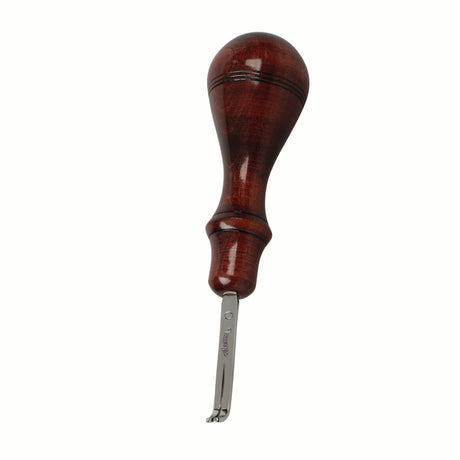
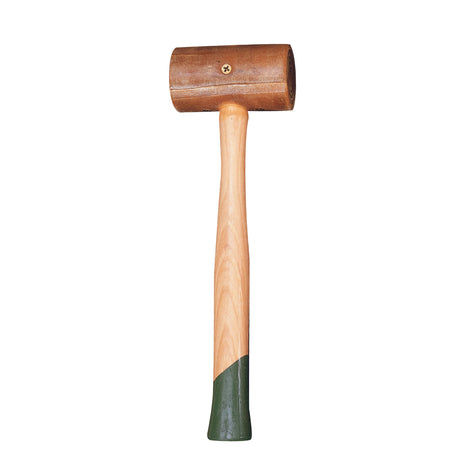
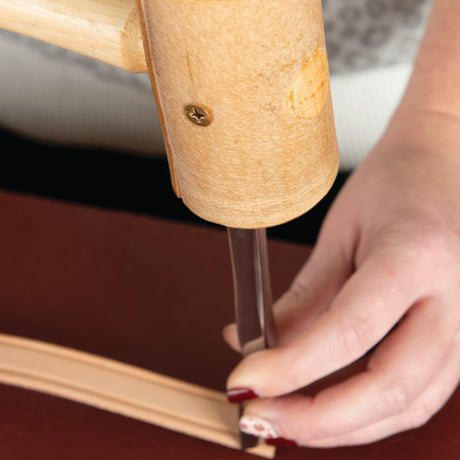
Next, using a Poly Cutting Board at your punch table, drop in an English point. You may use an English point of any size, such as a 1" Master Tool English Point Strap End Punch. Center the English point on the mark at the center edge of the pocket, using a Rawhide Mallet to sink it down about halfway
Now, we are ready to work on the wallet's main body. Make a mark at 1-3/4" on both sides and each end of the main body to prepare for laying in pockets and trimming them to size. Add Double-Sided Adhesive Tape to both ends and all four sides. Then, use a straight edge to drop in a center mark on each end, and lay in a pocket on each end.
To round the corners, make three easy cuts on each corner. Using a bridge, drop a scrap piece in the center of main body between the pockets, flip it over, then groove all the way around the edge of the main body. Finally, bevel the front and back edge all the way around the main body.
Here are a few things to avoid while beveling:
- Clipping the top of one of the pockets
- Having too much or too little leather remaining for one stitch at the edge. (To guard against this, mark with a 2-tine, then take the 1-tine and mark, expanding or contracting the spacing between stitches as needed. Repeat this until you have the appropriate amount of space to drop in the 4-tine with consistent spacing between stitches.)
Chiseling
Using the 1/8” Flat Chisel Set (4 pc.), go back to the punch table to drop in the chisel line.
After dropping in the chisel line, use the 6-tine starting on the center edge to begin chiseling on the main body. Then, drop the next set of six to the right of the first set. The stitching should straddle across the top of the pocket. Continue chiseling in this manner all the way around the main body.
When you encounter corners, start by tapping the 2-tine, then go with the single tine. Repeat this sequence once more, then you'll be ready to go back to the 6-tine at the straight edge.
Now, we're ready to add dye.
Dyeing
Dyeing leather doesn't have to be messy, expensive or time consuming. Dip dyeing is a typical method for dyeing leather. Smaller projects, such as wallets, call for a dressing sponge. Our team recommends Chuck's top pick, Fiebing's ProDye for reliable results.

To apply dye, follow these steps:
- Gently pull the pockets off, being careful not to stretch the leather.
- After pulling the first pocket off, use a sharpie to mark near the inside corner of the pocket.
- Place another mark on the corresponding inside corner of the main body.
- Starting with the main body, use a sponge to dye the face, edges, and backside.
- Next, thoroughly dye the face, edges, and backside of both pockets.
Next, while the dyed wallet is left to dry, clean up the area and prepare to add the topcoat.
Topcoat

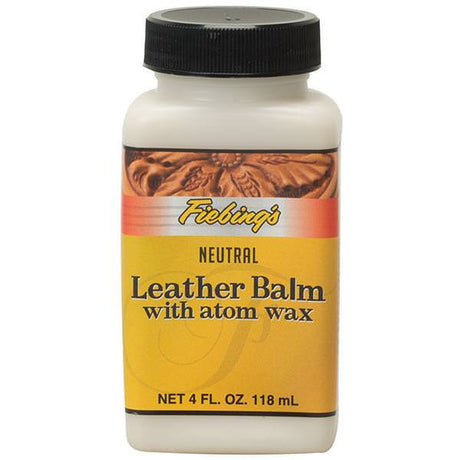
A topcoat, though not necessarily needed, provides a nice low gloss. Chuck's recommendation is Fiebing's Leather Balm with Atom Wax.
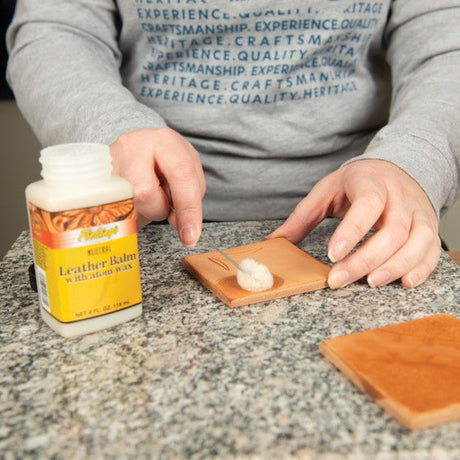
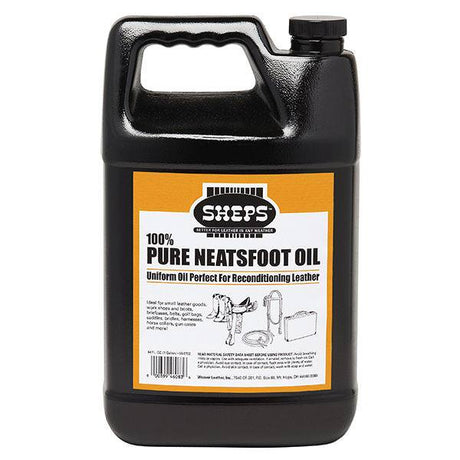
Prior to coating, take a rag lightly oiled with Sheps® 100% Pure Neatsfoot Oil to clean the top grain, edges and backside on all three pieces.
Then take each piece of leather and work it with your hands for a minute or two to soften.
For application of leather balm, have a wet rag and dry rag ready. Take a little bit of balm in one of the rags and add it evenly, but sparingly.
Once the balm is applied, take the dry rag, and buff the surface of the leather. Repeat for both pockets (the edges of the leather will be buffed after the wallet is sewn). The result is a rich color and a nice gloss.
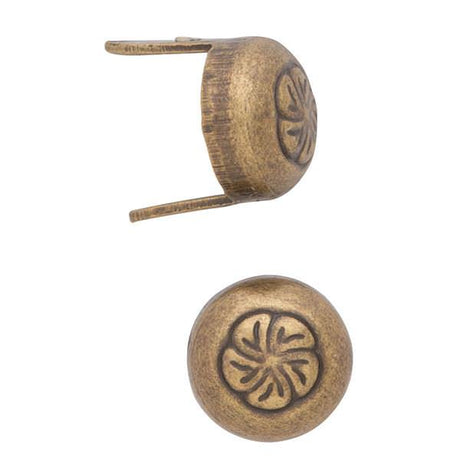
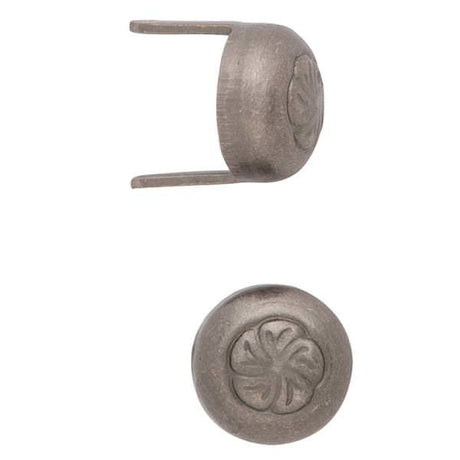
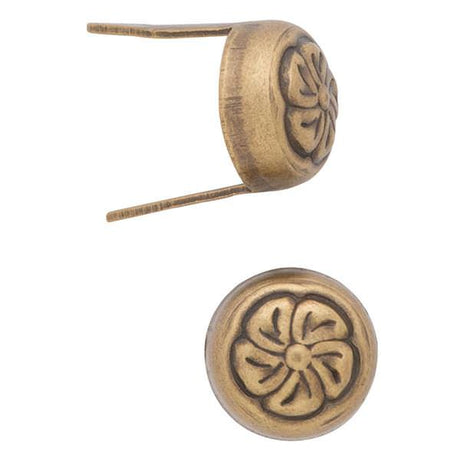
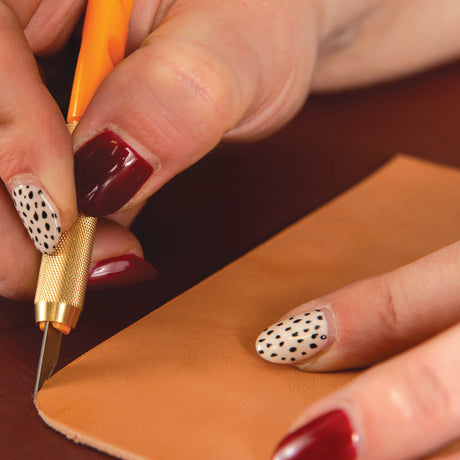
Adding Spots
Spots are inexpensive, look great, and are easy to apply. This optional touch adds a bit of pizazz with minimal work.
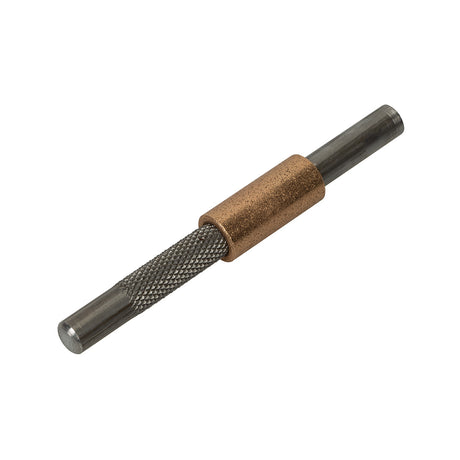
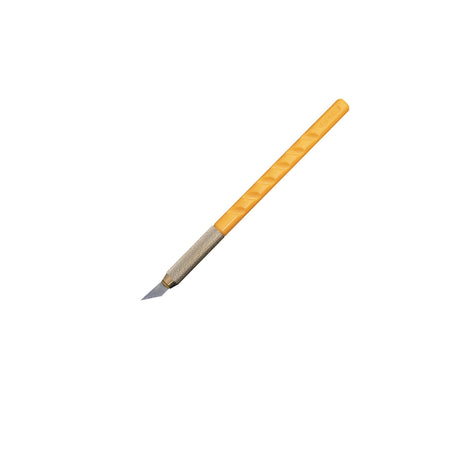
Chuck recommends three sizes of spots for best results, and these Heritage® Spot Setters will set 2 of the sizes: 1/4" or 5/16". For other sizes, a craft knife can be used, such as the Olfa® Art Knife.
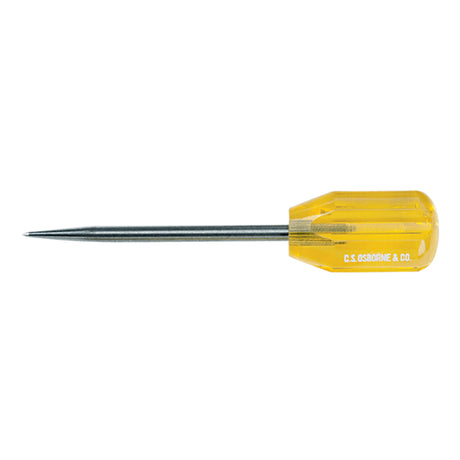
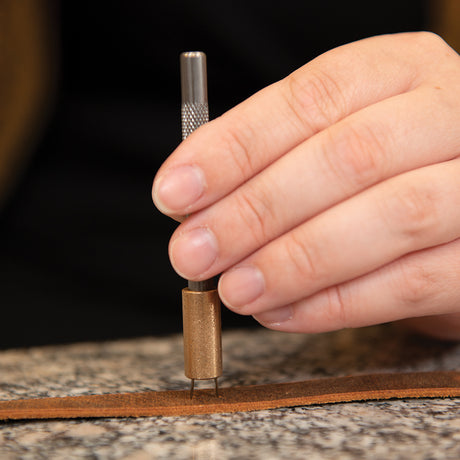
To begin setting spots, take the pattern and drop it over the main body of the wallet. Using an awl, make a mark for each of the spots.
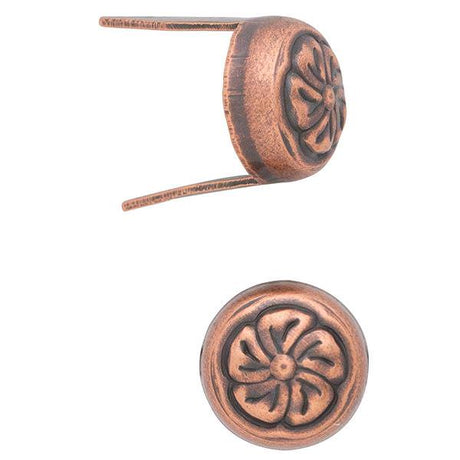
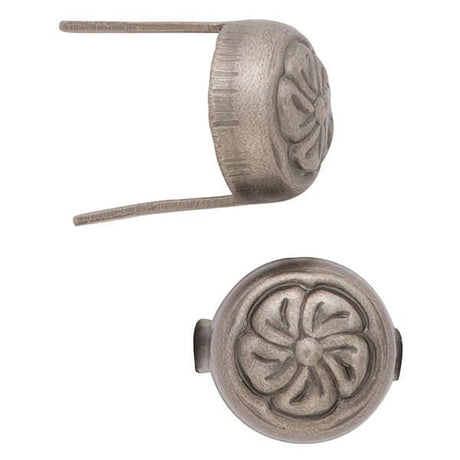
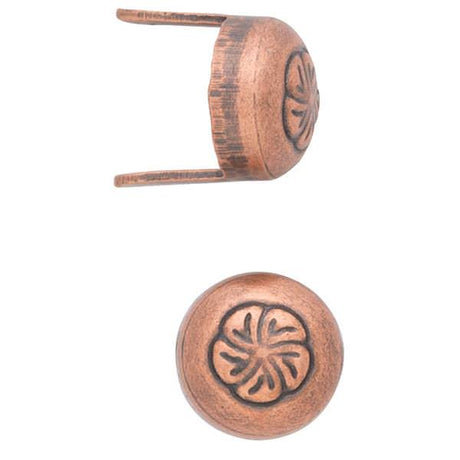
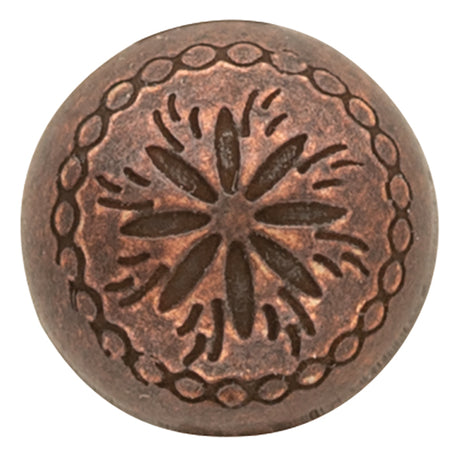
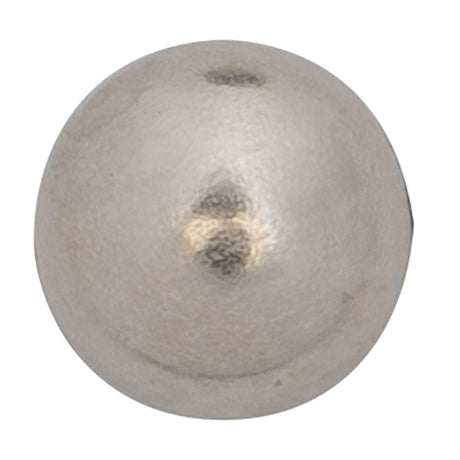
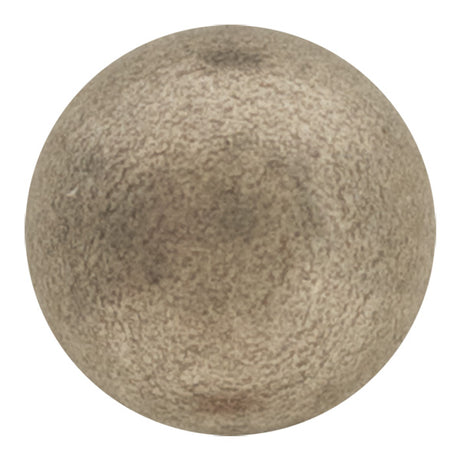
For the largest 5/16" spots (our favorite is the Antique Nickel Flower Spot), begin with one spot by bending 1 tine so it's pointing down, then create a mark for the spot by letting it straddle the center mark and pressing it in.
After placing the first 5/16" spot, take a 1/4" spot (Antique Nickel Flower Spot) and press it in to create a mark on both sides of the center spot. Finally, in the same manner, take a 3/16" spot (#201 Spot, Pewter), and mark on either side of the 1/4" spots.

Next, take a small cardboard pallet and place it underneath the main body to prevent dinging of the blade. Using the craft knife with blade, press into the main body on the center mark, then spin the knife around and press in again, mimicking the shape of the tine on the 5/16" spot. Repeat this process on the other side of the main body, careful to avoid creating a hole bigger than the tine.
Next, take a 5/16" spot and press it through the hole just created on the underside of the main body. Flip the wallet over and bend the tines on the spot inward, by bending the first tine under and the second tine over. Then, flip the wallet again and give the spot a light tap with the mallet. Repeat this process with the other spots.
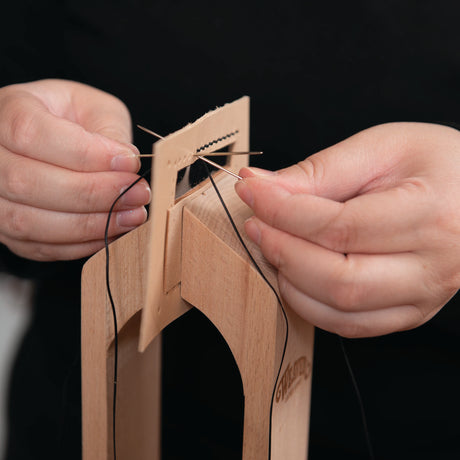
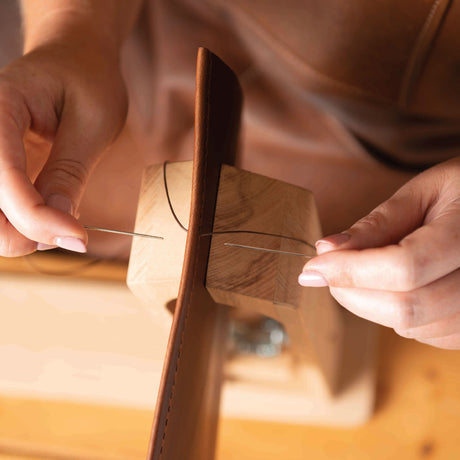
Sewing

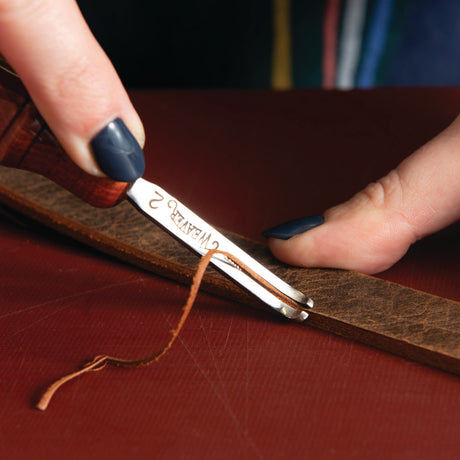
Chuck recommends the saddler's stitch for sewing a minimal card wallet. It's an easy stitch, looks good and is extraordinarily strong.
Chuck's recommended hand sewing needles: John James Saddler's Harness Needles.
Suggested thread: Ritza Tiger Thread .6mm (#77-7301, 50m); (#50-2501, 1000m). Pro tip: a smaller thread looks better on a smaller project.
Step 1: Drop the main body of the wallet in the Stitching Pony.
Step 2: Clip the pocket piece on to the main body.
Step 3: Start with thread about 4x the length of the needle. Begin sewing with the second hole in from the pocket and sew all the way around the wallet back to the first hole past the pocket. When you're stitching gets to the other side, add the second pocket.
Step 4: While sewing, pull lengthwise on both threads one at a time after each stitch to ensure the stitching will not bow up.
Step 5: Stop sewing one hole short of where you started.
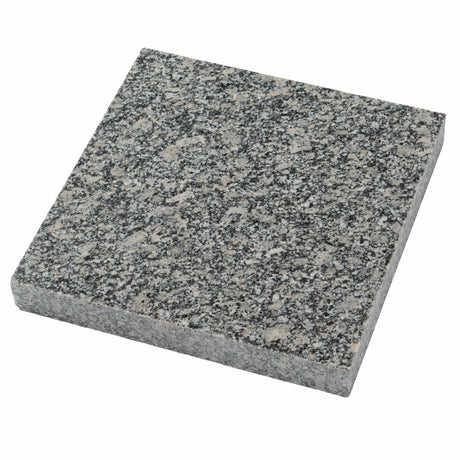
Step 6: On a Marble Tooling Slab, take the inside thread, lift the pocket and come through the next hole, only through the inside ply. Pull the thread through. Next, repeat with outside thread, lifting the pocket and threading through the next hole and sliding through. Finally, pull down both threads so that they are snug.
Step 7: Tie a basic square knot, taking the right thread over the left. Using your thumb, push the thread down into the pouch and pull the thread with your other hand to tighten the knot. Then repeat the process, starting by taking the left thread over the right.
Step 8: Using the craft knife, lay the blade against the wallet where the two pieces of thread are coming out, and pull the thread across the blade to cut the threads.
Step 9: Using a mallet, hammer the stitch line down. This closes the holes, spreads out the stitch line and sinks the stitch down into the groove line.
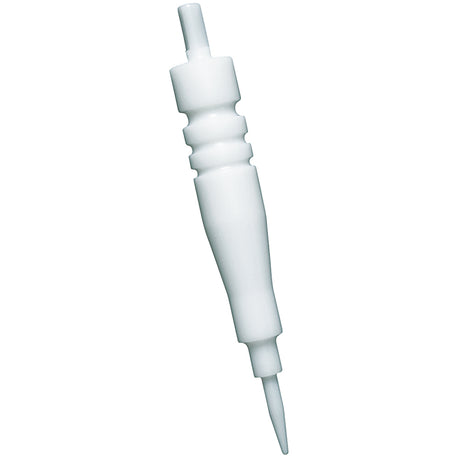
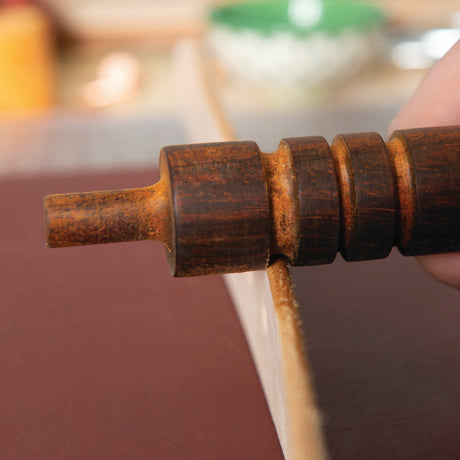
Slicking the Edges

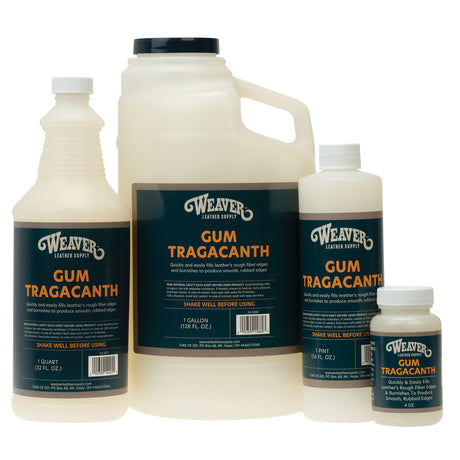
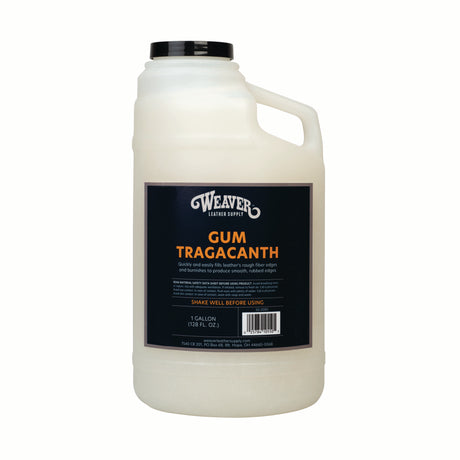
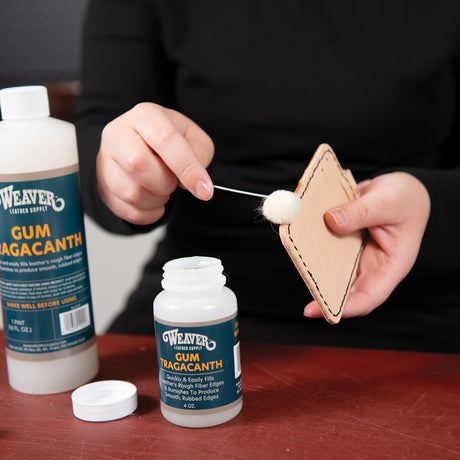
There are several methods for slicking edges. You can simply use water; Chuck suggests either Weaver Gum Tragacanth, or the same Leather Balm that was used for the topcoat.
To slick the edges, take a rag and add a small amount of the chosen liquid to the edges of the wallet. After applying all around the edges, use a dry cloth to rub it off.
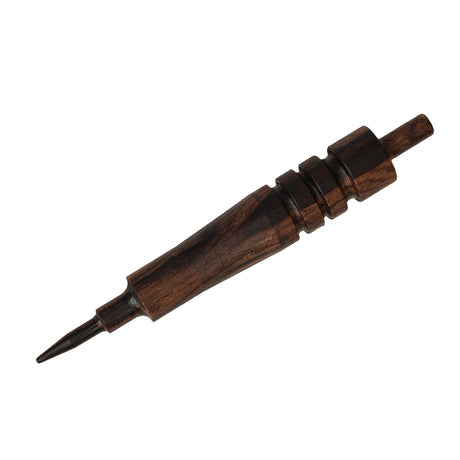
Then, begin to slick the edge of the wallet using the top groove of our Plastic Leather Slicker or Exotic Wood Leather Slicker for the edge of the pockets (two ply) and the middle groove for the edge of the main body (single ply). Don't forget to work the corners using the top groove.
Now that you're in-the-know on the steps to create your own minimal card wallet, you're all set!
For those new to leathercrafting, the minimal card wallet is an excellent chance to gain experience with the basics—including cutting, dyeing, sewing, adding spots, and working the edges. And the beautiful, clean, and straightforward design will please even the most seasoned leather aficionados.
For more great project ideas for beginners and beyond, check out Shop by Project on our website.
Suggested Products
-

Weaver Leather Supply
John James Saddler's Harness Needles
From $9.40 Sold by 25 packUnit price /Unavailable -
-
-

-
![Marble Tooling Slab]()
-
-
![Weaver Gum Tragacanth]()
![Weaver Gum Tragacanth]()
![Weaver Gum Tragacanth]()
![Weaver Gum Tragacanth]()
-

![Double-Sided Adhesive Tape]()
![Double-Sided Adhesive Tape]()
-
-

Weaver Leather Supply
Fiebing's Leather Balm with Atom Wax, Neutral, 4 oz.
$8.39Unit price /Unavailable -

-
-
Weaver Leather Supply
CHAHINLEATHER® Veg Tanned Natural Strap Leather, Sides
From $270.00Unit price /Unavailable -
-
-
-
-
-
![#2080 Flower Spot]()
![#2080 Flower Spot]()
![#2080 Flower Spot]()
![#2080 Flower Spot]()
![#2080 Flower Spot]()
![#2080 Flower Spot]()
-
-

-
![#201 Spot]()
![#201 Spot]()
![#201 Spot]()